Summary
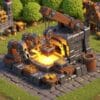
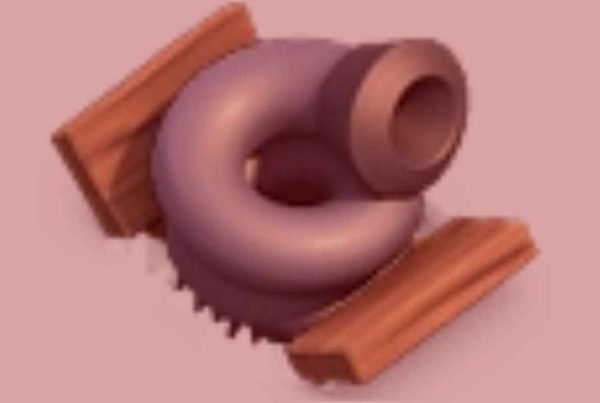
Concealed explosive devices, or Bombs, are hidden traps that activate when an attacking unit comes within their triggering range. They are the first type of trap that players can unlock in the game. Once activated, Bombs must be re-armed, a process that occurs automatically at no cost upon logging in. Despite being the least powerful among traps, Bombs can still contribute to a village’s defense if placed strategically and consistently re-armed after being triggered. Though classified as “Defensive Buildings,” Bombs are not actual buildings and do not contribute to or need to be destroyed for an enemy to achieve 100% destruction.
Bombs detonate about 1.5 seconds after an enemy comes within one tile of it, inflicting splash damage to all ground troops within a three-tile radius. To maximize impact, Bombs should be positioned where troops are likely to linger, such as near buildings under attack. A single Bomb may not cause significant damage, but multiple Bombs clustered together can severely damage or even eliminate a group of Archers or Goblins.
Strategy
Defensive
A Bomb can destroy a Wall Breaker of the same level. Since Wall Breaker A.I. targets wall junctions, placing Bombs at exterior perimeter intersections and corners maximizes their impact. This can disrupt a Queen Charge or similar strategies but is ineffective against Super Wall Breakers or numerous Wall Breakers that reach the Walls.
A common defensive strategy involves positioning Bombs along external Walls, behind outer buildings that delay enemy troops. When troops finally attack the Wall, the Bomb strikes multiple units at once. This is most effective against low-health troops, but multiple Bombs can also threaten Giants.
Another approach is placing a group of Bombs around a defensive building on the base’s outskirts, serving as a trap for enemy Giants. Adding a Spring Trap at the entrance to these trapped structures enhances their effectiveness.
When upgrading a Bomb, be mindful that its location will be revealed. Counter this by relocating it during the upgrade period, as it will not trigger during that time anyway. This is useful against players who scout your base for revenge attacks.
Exploiting A.I. targeting can significantly enhance the defensive capabilities of Bombs. For instance, placing 2-3 Bombs between two resource collectors can annihilate a group of Goblins moving between them.
Bombs at level 4 or higher can instantly eliminate summoned Skeletons, making them effective against Witch-based attacks. However, Skeletons alone cannot trigger Bombs and will only be destroyed once other troops, like Giants, activate them.
Bombs are useful against players deploying a Battle Blimp filled with Sneaky Goblins targeting the Town Hall. Even if Sneaky Goblins are invisible, enough Bombs surrounding the Town Hall can swiftly kill them, thwarting the tactic. This is especially important at higher Town Hall levels, where sniping strategies become more viable.
Offensive
Bombs cause minimal damage to high-health troops but can destroy smaller ones. To absorb Bomb damage, use tanks or high-health troops like Giants. Skeletons spawned by Witches or a Skeleton Spell do not trigger Bombs, making them less useful in Witch-based strategies.
To activate suspected Bombs, deploy a small troop like a Barbarian. Avoid sending small troops en masse to prevent significant damage or total annihilation.
Air troops such as Minions are unaffected by Bombs, as the traps cannot harm them.
