Summary
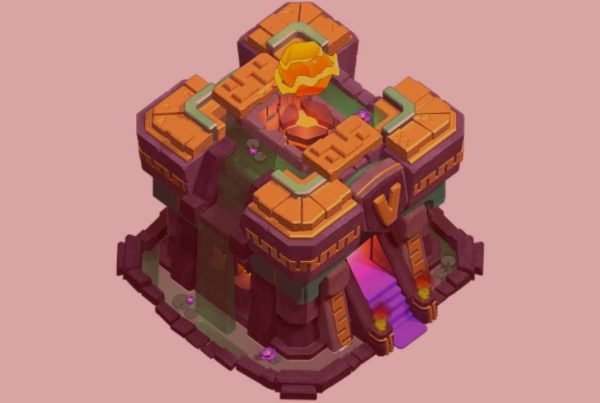
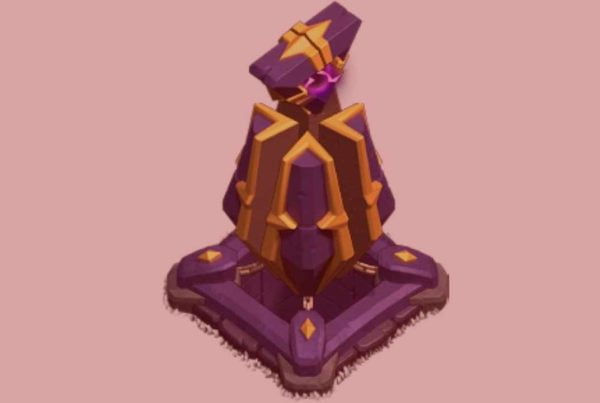
The Eagle Artillery stands as an immensely potent defensive weapon with a range encompassing nearly the entire map, yet it possesses a blind spot akin to the Mortar. This powerful defense becomes available at Town Hall level 11. Similar to the X-Bow, Inferno Tower, and Scattershot, it requires loading to function, which occurs automatically and without cost upon the player’s login. If the player does not load the Eagle Artillery, it will eventually run out of ammunition and become inoperative.

The Eagle Artillery takes five minutes to exhaust its entire ammo supply. During a defensive maneuver, the Eagle Artillery remains inactive initially, only activating once a substantial number of troops, equivalent to a certain housing space value, have been deployed. It first lights its eyes after 150 housing spaces worth of troops and fully activates at 200 housing spaces.
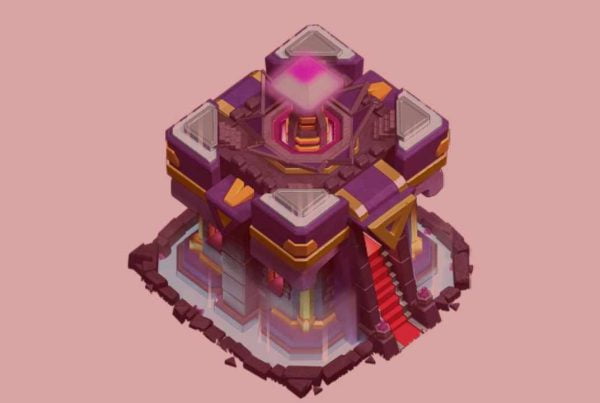
When primed to fire, the eagle head slides forward to reveal a hexagonal barrel surrounded by a pulsating bright light. Heroes and spells deployed, irrespective of their level, contribute to the housing space required for Artillery activation. Each hero equates to 25 troop housing spaces, while each spell housing space equals 5 troop housing spaces.
Each Siege Machine contributes one troop housing space to the activation requirement. Clan Castle troops do not count toward this number, but reinforcement spells count for their standard amount. Pets, regardless of level, do not contribute any housing spaces toward activation. Activating the Archer Queen’s or Barbarian King’s ability or deploying units that spawn sub-troops, such as the Golem or Witch, will not add more troop spaces. Using a Skeleton Spell or Clone Spell only contributes the spell’s equivalent worth in troop housing spaces, while the spawned units do not add more spaces.
The Eagle Artillery launches three consecutive shots at 10-second intervals, inflicting significant splash damage to the target unit and minor splash damage to nearby units. The shockwave damage also impacts the primary target, resulting in slightly higher overall damage. The total damage to the main target is the sum of the damage per hit and the shockwave damage.
This powerful defense targets based on a “heat map” or “hitpoint map,” focusing on areas with the highest density of hitpoints. It marks the target unit with a bright yellow indicator, which tracks the unit’s movement unless it enters the Artillery’s blind spot or moves out of range. The Eagle Artillery recalculates its targets with each volley.
Strategies
Defensive Strategy
Place the Eagle Artillery so its blind spot is covered, similar to a Mortar. As it only activates when enough troops are deployed, position it near the center of your base. This ensures it is operational when enemy troops start entering your base. Centralize the Eagle Artillery to make it harder for troops to reach it, as it inflicts more damage. In an anti three-star base, prioritizing the Eagle Artillery’s centralization over protecting the Town Hall is key.
Avoid placing it too close to other essential defenses like the enemy Queen and Clan Castle, as this can create vulnerabilities. The Eagle Artillery is most effective when supported by an Air Defense, which can eliminate air troops while the Eagle Artillery targets ground troops. To bolster its defenses, consider placing a Wizard Tower to cover the blind spot.
While centralization is vital, offset the Eagle Artillery to ensure it continues firing when troops enter the core. This is particularly effective as many troops tend to cluster in the core.
Offensive Strategy
Utilize Freeze Spells to prevent the Eagle Artillery from attacking your units. Freeze it just before it fires, not during its 10-second intervals or after missiles are launched. This minimizes damage and forces the Eagle Artillery to spend more time firing.
The Eagle Artillery is likely to target the Barbarian King first due to his higher health compared to other heroes. If the Barbarian King is not deployed or has been defeated, it will then target the Royal Champion, followed by the Archer Queen or Grand Warden if the Royal Champion or Barbarian King is not in play. It may focus on a Golem or groups of troops in close proximity. Occasionally, it might target the Grand Warden or Archer Queen even if other heroes are on the battlefield, though this is rare.
Use the Grand Warden’s ability to absorb one volley of shots from the Eagle Artillery for any units within his range. Activate this ability when units are entering the base’s core. Employ the Jump Spell to enable melee troops to swiftly destroy the Eagle Artillery.
An Eagle Artillery can be taken down with six level 8 Lightning Spells and one level 5 Earthquake Spell, which is a common strategy in Zap Lalo or hybrid armies. Avoid deploying all your troops in one location, as the Eagle Artillery’s splash damage can decimate clusters of Balloons or Minions.
Bat Spells are effective against the Eagle Artillery. They target the Eagle Artillery and can fly over Walls that stand in their way. A swarm of bats can enter the blind spot and wreak havoc on the Artillery. Be cautious of nearby Wizard Towers and Inferno Towers (in multi-target mode), as they can quickly eliminate the bats, potentially leaving the Artillery undamaged.
When the Eagle Artillery is in the process of targeting the Archer Queen, activating her ability can prevent the lock-on and force it to spend time retargeting. However, if the Eagle Artillery has already started firing, using her ability will not protect the Queen from taking substantial damage.
Deploying three Golems together is likely to draw the Eagle Artillery’s attention, allowing other troops to continue their assault.
Eagle Artillery Stats
| Town Hall Level | 1 | 2 | 3 | 4 | 5 | 6 | 7 | 8 | 9 | 10 | 11 | Size |
|---|---|---|---|---|---|---|---|---|---|---|---|---|
| Number Available | 0 | 0 | 0 | 0 | 0 | 0 | 0 | 0 | 0 | 0 | 1 | 4x4 |
| Level | 1 | 2 |
|---|---|---|
| Damage per Hit | 250 | 300 |
| Damage per Second | 75 | 90 |
| Shockwave Damage | 15 | 20 |
| Hitpoints | 4,000 | 4,400 |
| Gold Cost | 8,000,000 | 10,000,000 |
| Elixer Loading Cost | 35,000 | 40,000 |
| Build Time | 10d | 14d |
| Experience Gained | 929 | 1,099 |
| Town Hall Level Required | 11 | 11 |
| Range | Attack Speed | Damage Type | Unit Type Targeted | Favorite Target |
|---|---|---|---|---|
| 7-50 | three-shot volley each 10 seconds | Splash | Ground & Air | Golem (Damage x3) |